Network Workstations Installation
Before installing ATX on network workstations, you must do the following:
- Install and launch ATX on the server. See Network Server Installation.
- Accept any updates available on the server. See Downloading ATX.
This topic gives steps to perform the Network - Workstation Only installation. If you're unsure of your install type, see What Install Type Do I Need?.
To setup ATX on a network workstation:
As a precaution against losing work in other programs, you should shut down all other applications on your computer before beginning your ATX installation.
To install and activate an ATX workstation:
You should have already installed ATX on the server before trying to install ATX on a workstation. If you have not installed the server yet, see Network Server Installation.
- Download from Web: ATX can be downloaded from the Customer Support Site. See Downloading ATX.
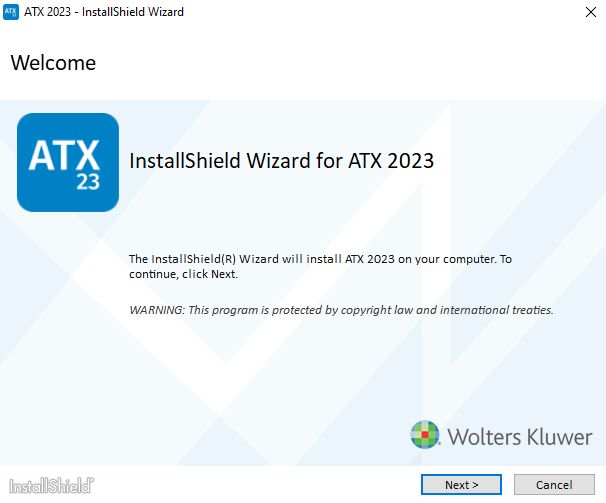
Installation: Welcome
- Click Next.
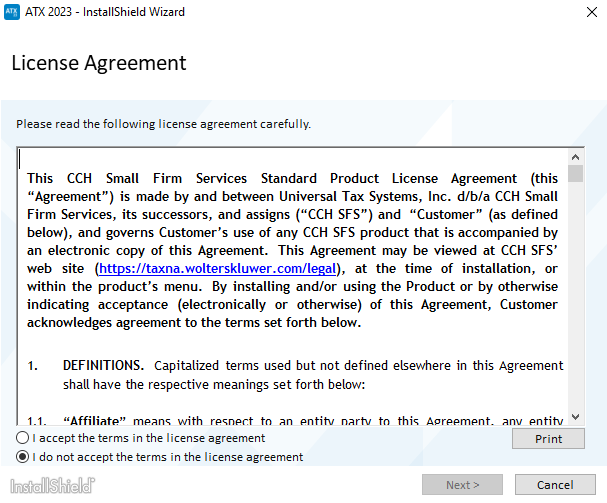
Installation: License Agreement
- Select the I accept the terms in the license agreement radio button to indicate that you have read and agree to the terms of the license agreement; then, click Next.
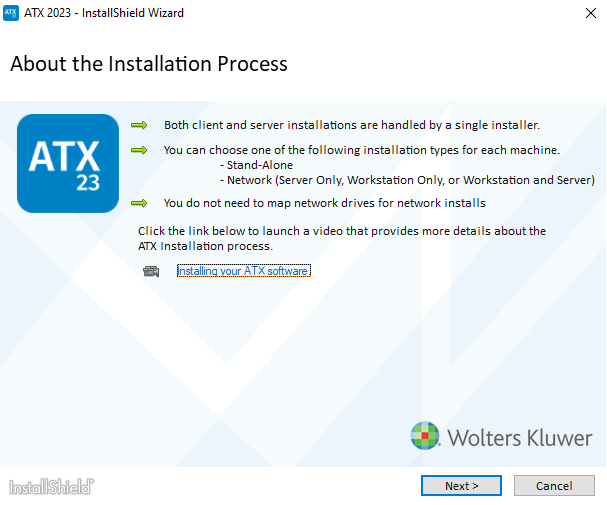
About the Installation Process
- Click Next.
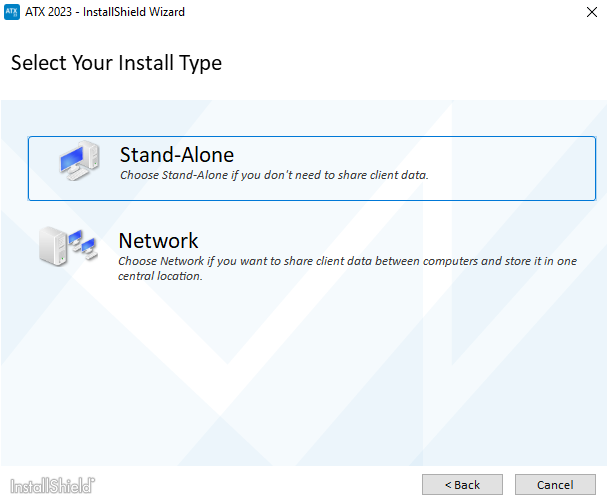
Installation: Select Your Install Type
- Select the Network option.
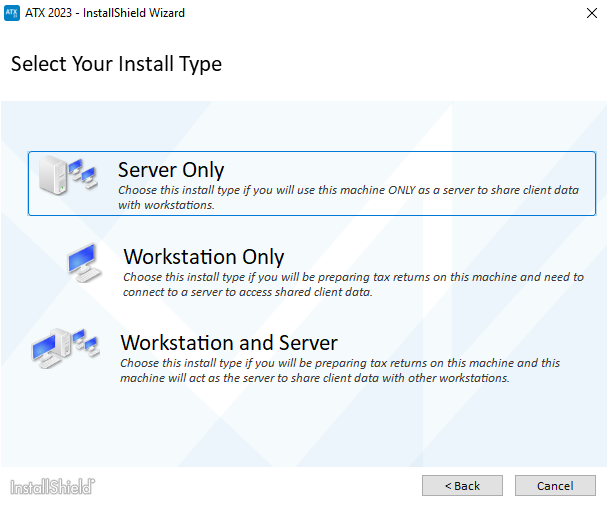
Installation: Select Your Install Type (Network)
- Click the Workstation Only option.
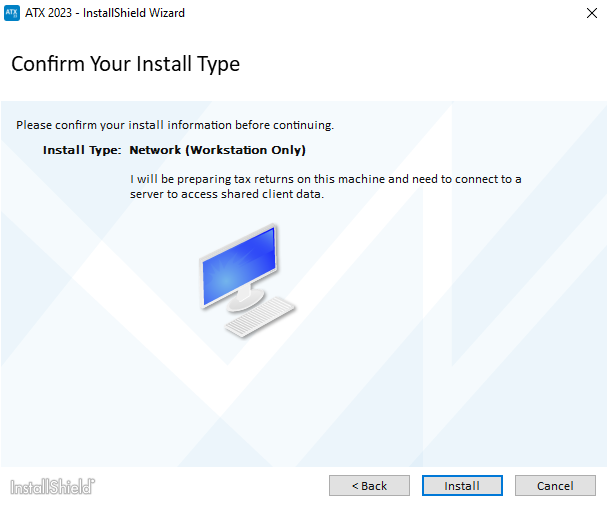
Installation: Confirm Your Install Type - Workstation Only
- Click Install.
Installation speed may vary depending on your operating system or Internet speed.
![]()
CCH® Browser Search plug-in install
The option to install the CCH Browser Search plug-in only displays if you do not already have the plug-in installed.
The Install CCH Browser Search plug-in check box is selected by default. If you do not want to install the CCH Browser Search plug-in, click the Install CCH Browser Search plug-in check box.
- Click Next.
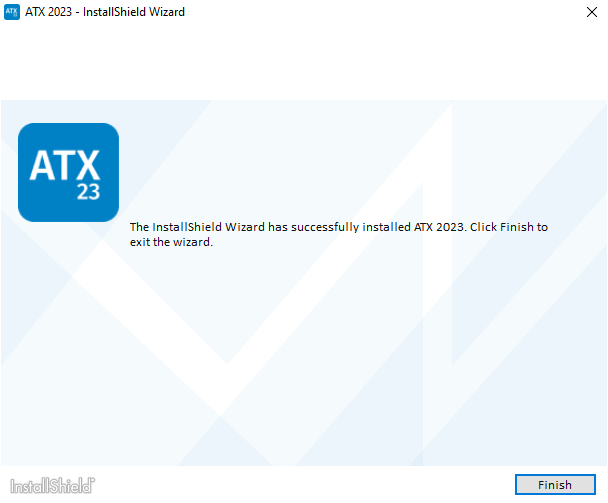
Installation Complete
- Click Finish.
If you selected to install the CCH Browser Search plug-in, the installation will now begin. For information on installing and setup, see CCH Browser Search Plug-in Installation.
This completes the ATX installation process. The ATX icon is placed on your desktop.
If you receive a Network Setup Not Complete message, click the Help link for Network Troubleshooting Tips.
Workstation Activation
- Double-click the ATX™ 2023 icon on your desktop. Typically, the system automatically connects the network workstation with the server, and the ATX splash screen appears and remains on screen for a few seconds.
If the system doesn't automatically locate the server, a Find Network Server dialog box appears. See Finding Your Network Server.
The Activation Codes Dialog Box appears the first time you start the application after installation.
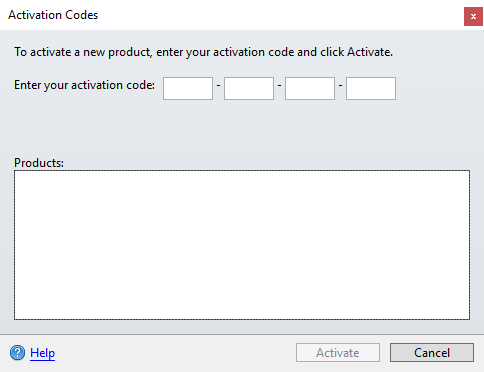
Activation Codes
- Enter the product Activation Code from your Fulfillment Confirmation Slip.
- Click Activate. The product name appears in the Activated Products pane.
If we detect that your operating system is Windows 7, you will be prompted every time you login to update your operating system. Microsoft will stop updating Windows 7 systems with security updates in January 2020, therefore Wolters Kluwer will discontinue support of Windows 7 in ATX as of November 30, 2019. For more information, please refer to Upgrading Your Windows®7 Operating System.
- ATX opens to the Welcome To ATX dialog box.
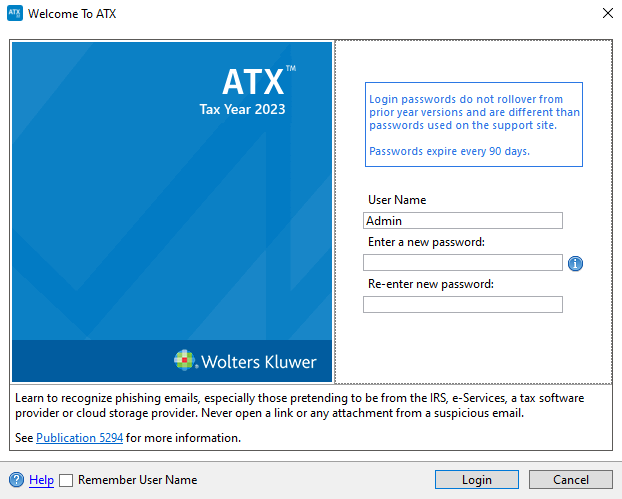
- The User Name field defaults to Admin. You must first establish a password for the Admin user in order to access ATX.
If User Names are not yet created, a message will prompt the Admin user to create users.
Passwords must follow these guidelines:
- 8 - 20 characters
- At least 1 UPPER case letter
- At least 1 lower case letter
- At least 1 number
- At least 1 punctuation or special character (ex.? ! $ & * )
- Spaces are allowed
- (Optional) Select the Remember User Name check box to have your User Name automatically populated when you launch the application from this workstation.
- Click Login. ATX opens to the Return Manager and presents the Download Forms Updates dialog box (which gives you the opportunity to get the latest forms).
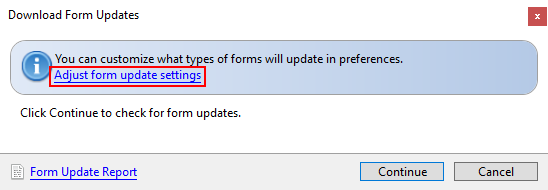
Download Form Updates dialog box
- In the Download Form Updates dialog box, click the Adjust form update settings link.
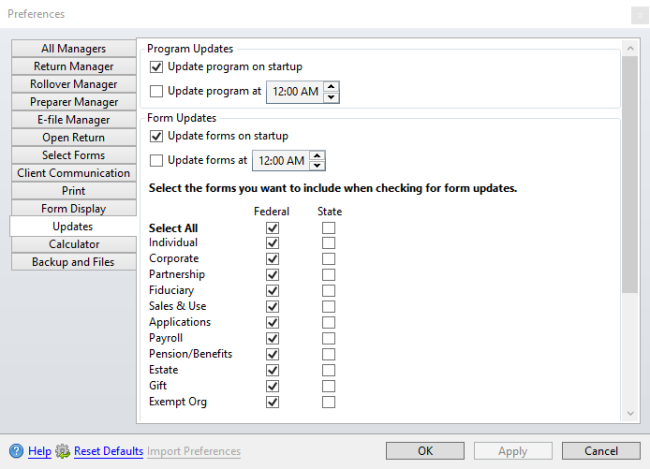
Updates preferences
- Select the check box(es) next to the package(s) you frequently work with under the Form Updates area of the dialog box.
- Scroll down to the section with the state check boxes; then, select the state(s) you want to include in your form updates.
- Click Apply, and then OK.
- In the Download Form Updates dialog box, click Continue.
- When the Update Results dialog box appears, indicating that the download was successful, click Close.
See Also: